Tag Archives: home DIY
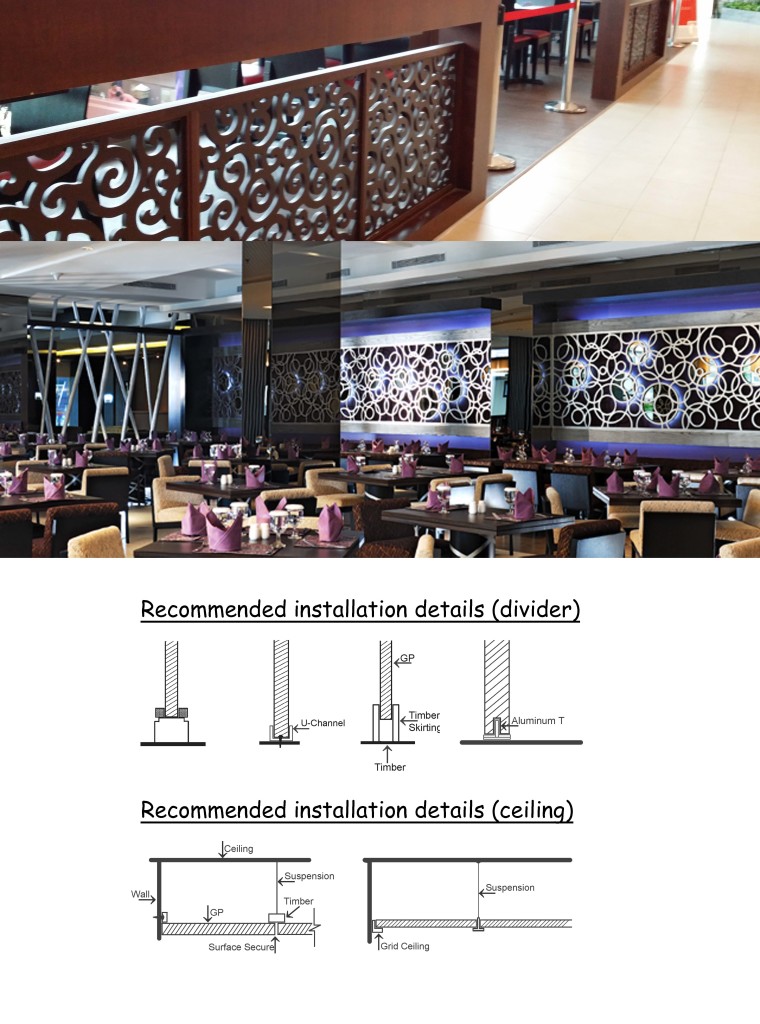
Installation Guide of Grille Wall Panels
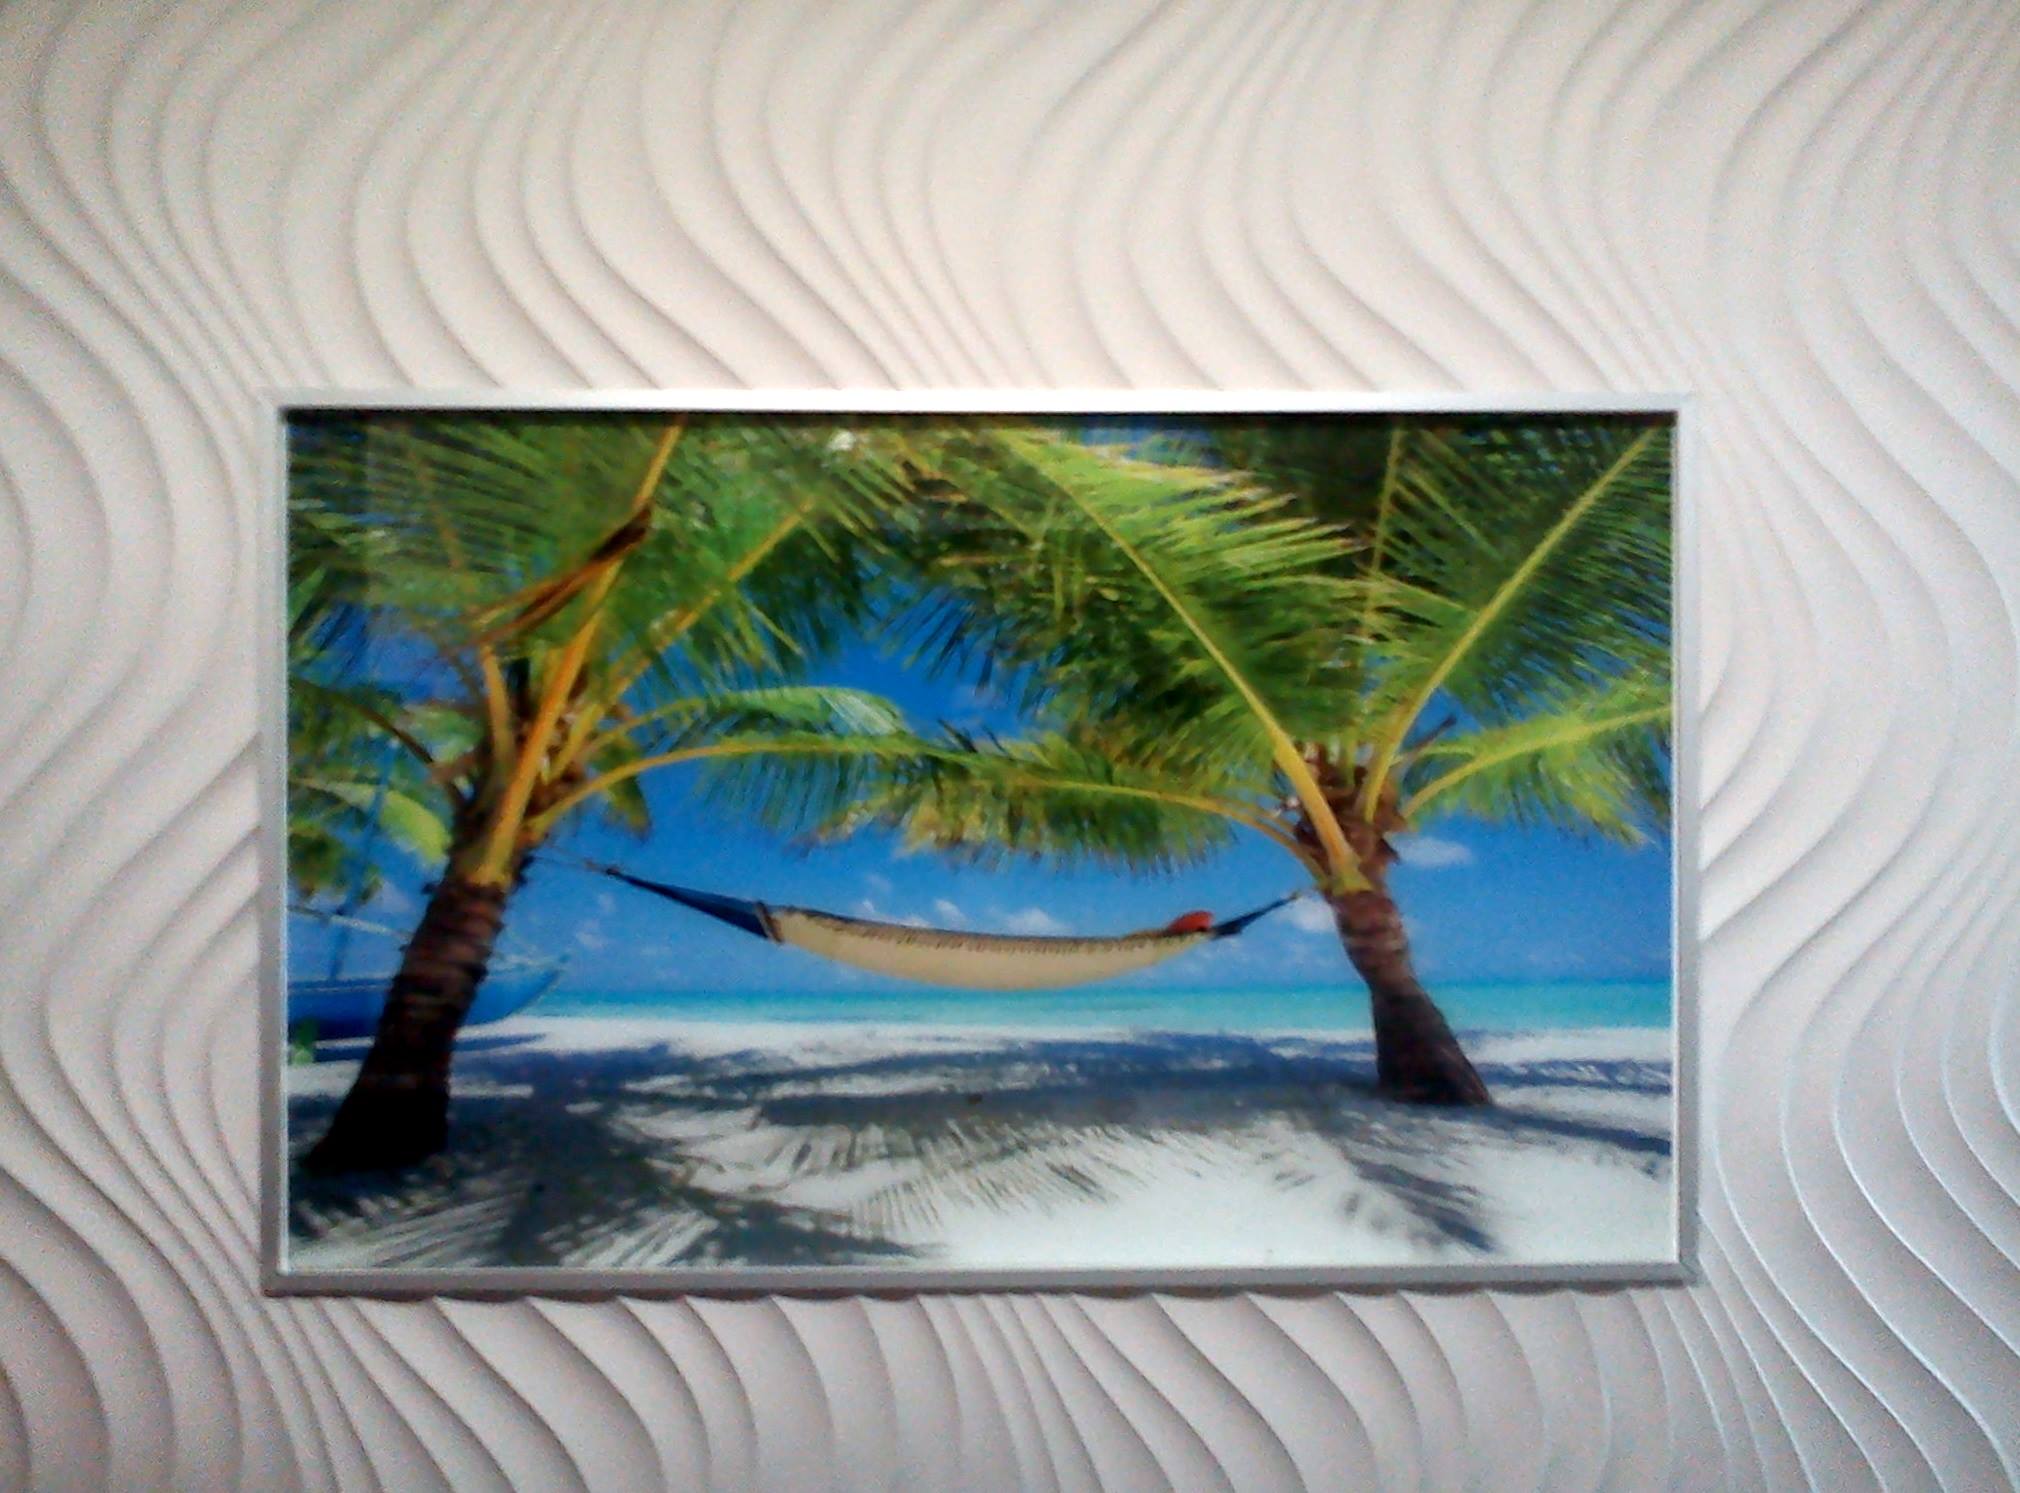
Alternative wall decor idea for photo background
We have a nice photo want to hang on the wall, but most of the time we find the simplex wall is quite difficult to match the elegant photo, how about try to make a adjustment and make a change to your wall? like decor with a nice wall paper, easy DIY and economical, or if you still don’t satisfy with the outlook, find a nice pattern of 3d wall panels and install on the wall, together with spotlight shooting on the photo, the effect will be total different, elegant photo match elegant back ground wall, the result is stunning. The following is temperate for your reference.
New recommended spray painting method for 3d wall panels
New recommended spray painting method for 3d wall panels:
Step 1. Ensure that the routed 3d wall panels meet the next adjoining panel. Leave a gap of about 1-2mm in between panels for fillers.
Step 2. Use “polyester putty” (commonly used in vehicle spray painting industry) as filler for gaps, points and nail holes.
Step 3. Apply the putty with a spreader, ensure all gaps, joints and holes are joints and holes are fully filled. Allow drying time in between application for putty to be fully settled.
Step 4. Sand off the excess filler covering gaps, joints and nail holes. Do a light and fine sanding over the entire surface of the pre-primed 3d wall panels as preparation to receive paint.
Step 5. Thin layers of paint are to be applied in between drying intervals.
Step 6. Advisable to engage skilled professional spray paint applicator for best result.
New Recommended Installation Idea for 3d wall panels
New recommended installation idea for 3d wall panels:
Step 1. Ensure wall surface is smooth and levelled, ideally to have a plywood backing or plywood strips nailed directly onto concrete wall prior to installation of the panels.
Step 2. Pre-cut the 3d wall panels to fit wall dimensions using traditional table saw commonly used by furniture makers and carpenters.
Step 3. For trimming or cutting of corners or opening use a electric jigsaw with saw blade suitable for wood cutting.
Step 4. For added strength, apply spots of bonding adhesive (commonly used in woodworking industry) onto the back of the 3d wall panels before securing.
Step 5. For installation of more than one panel, ensure that the routed patterns meet the next adjoining 3d wall panel. Leave a gap of 1-2mm for fillers before paint application.
Step 6. Secure the 3d wall panels by using air-compressor operated fine nails or staplers directly onto plywood backing.
How to fix the gap in jointed panels
Some designers still think that after installation of Pangu wall panels, the gap in the jointed wall panels are not perfect enough.
Here is the way that we fix the gap:
1) You’d better select primer finish panel if you would like to fix the gap ( painted wall panels can also be fixed, we recommend to use primer finish wall panels);
2) Sand the gap and edge of the panels in the joint area;
3) Put the putty in the gap, make it solid;
4) Sand the jointed area after dry;
5) Repaint the jointed wall panels.
The finished result will be great.




 Scan and save our website & contact information here!